A picture says more than a thousand words.
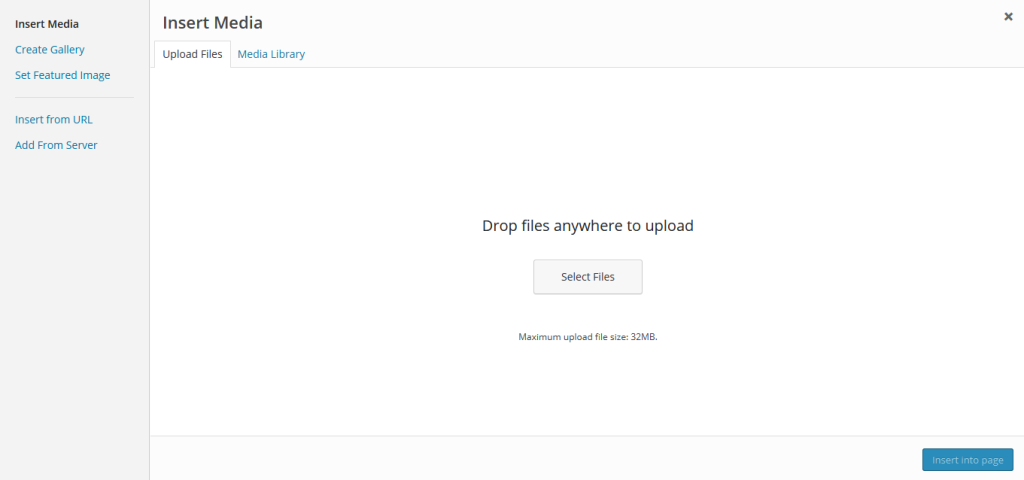
WordPress makes it easy for you to add images to your WordPress site. There are 2 steps involved to inserting an image into a post. First, the image file must be uploaded onto your web server before it can be inserted into a post. The second step is to actually insert the image into the post in the appropriate location.

The simplest way to do this is to use the “Add Media” function on the page/post screen (see the Upload/Insert buttons in the above picture). Choose the camera icon (image button), this method will complete both steps outlined above.
In the “From Computer” area of the screen you need to upload the desired image file. NOTE: Before hitting the “Upload from Computer” button it is recommended that you select the “Browser Uploader” instead of using the default Flash Uploader.

Click on the “Browser Uploader” link in the lower right for a simpler, more stable upload
After selecting the “Browser Uploader”, hit the “Browse…” button and choose the desired image file on your computer. Then, hit the “Upload” button. Your image file is now on your web server.
Make sure you give the image an appropriate title, as well as a relevant description if desired. Choose the desired alignment and size, and hit the “insert into post” button. Your image is now inserted into the post at the location where your cursor was last active.
Every time you upload an image to your web server it is added to the “Gallery” of images that are available for that blog. If you want to insert the same image into another post go to the “Gallery”, hit the “Show” link next to the image title, and then follow the same instructions to insert that image into another location or post.


